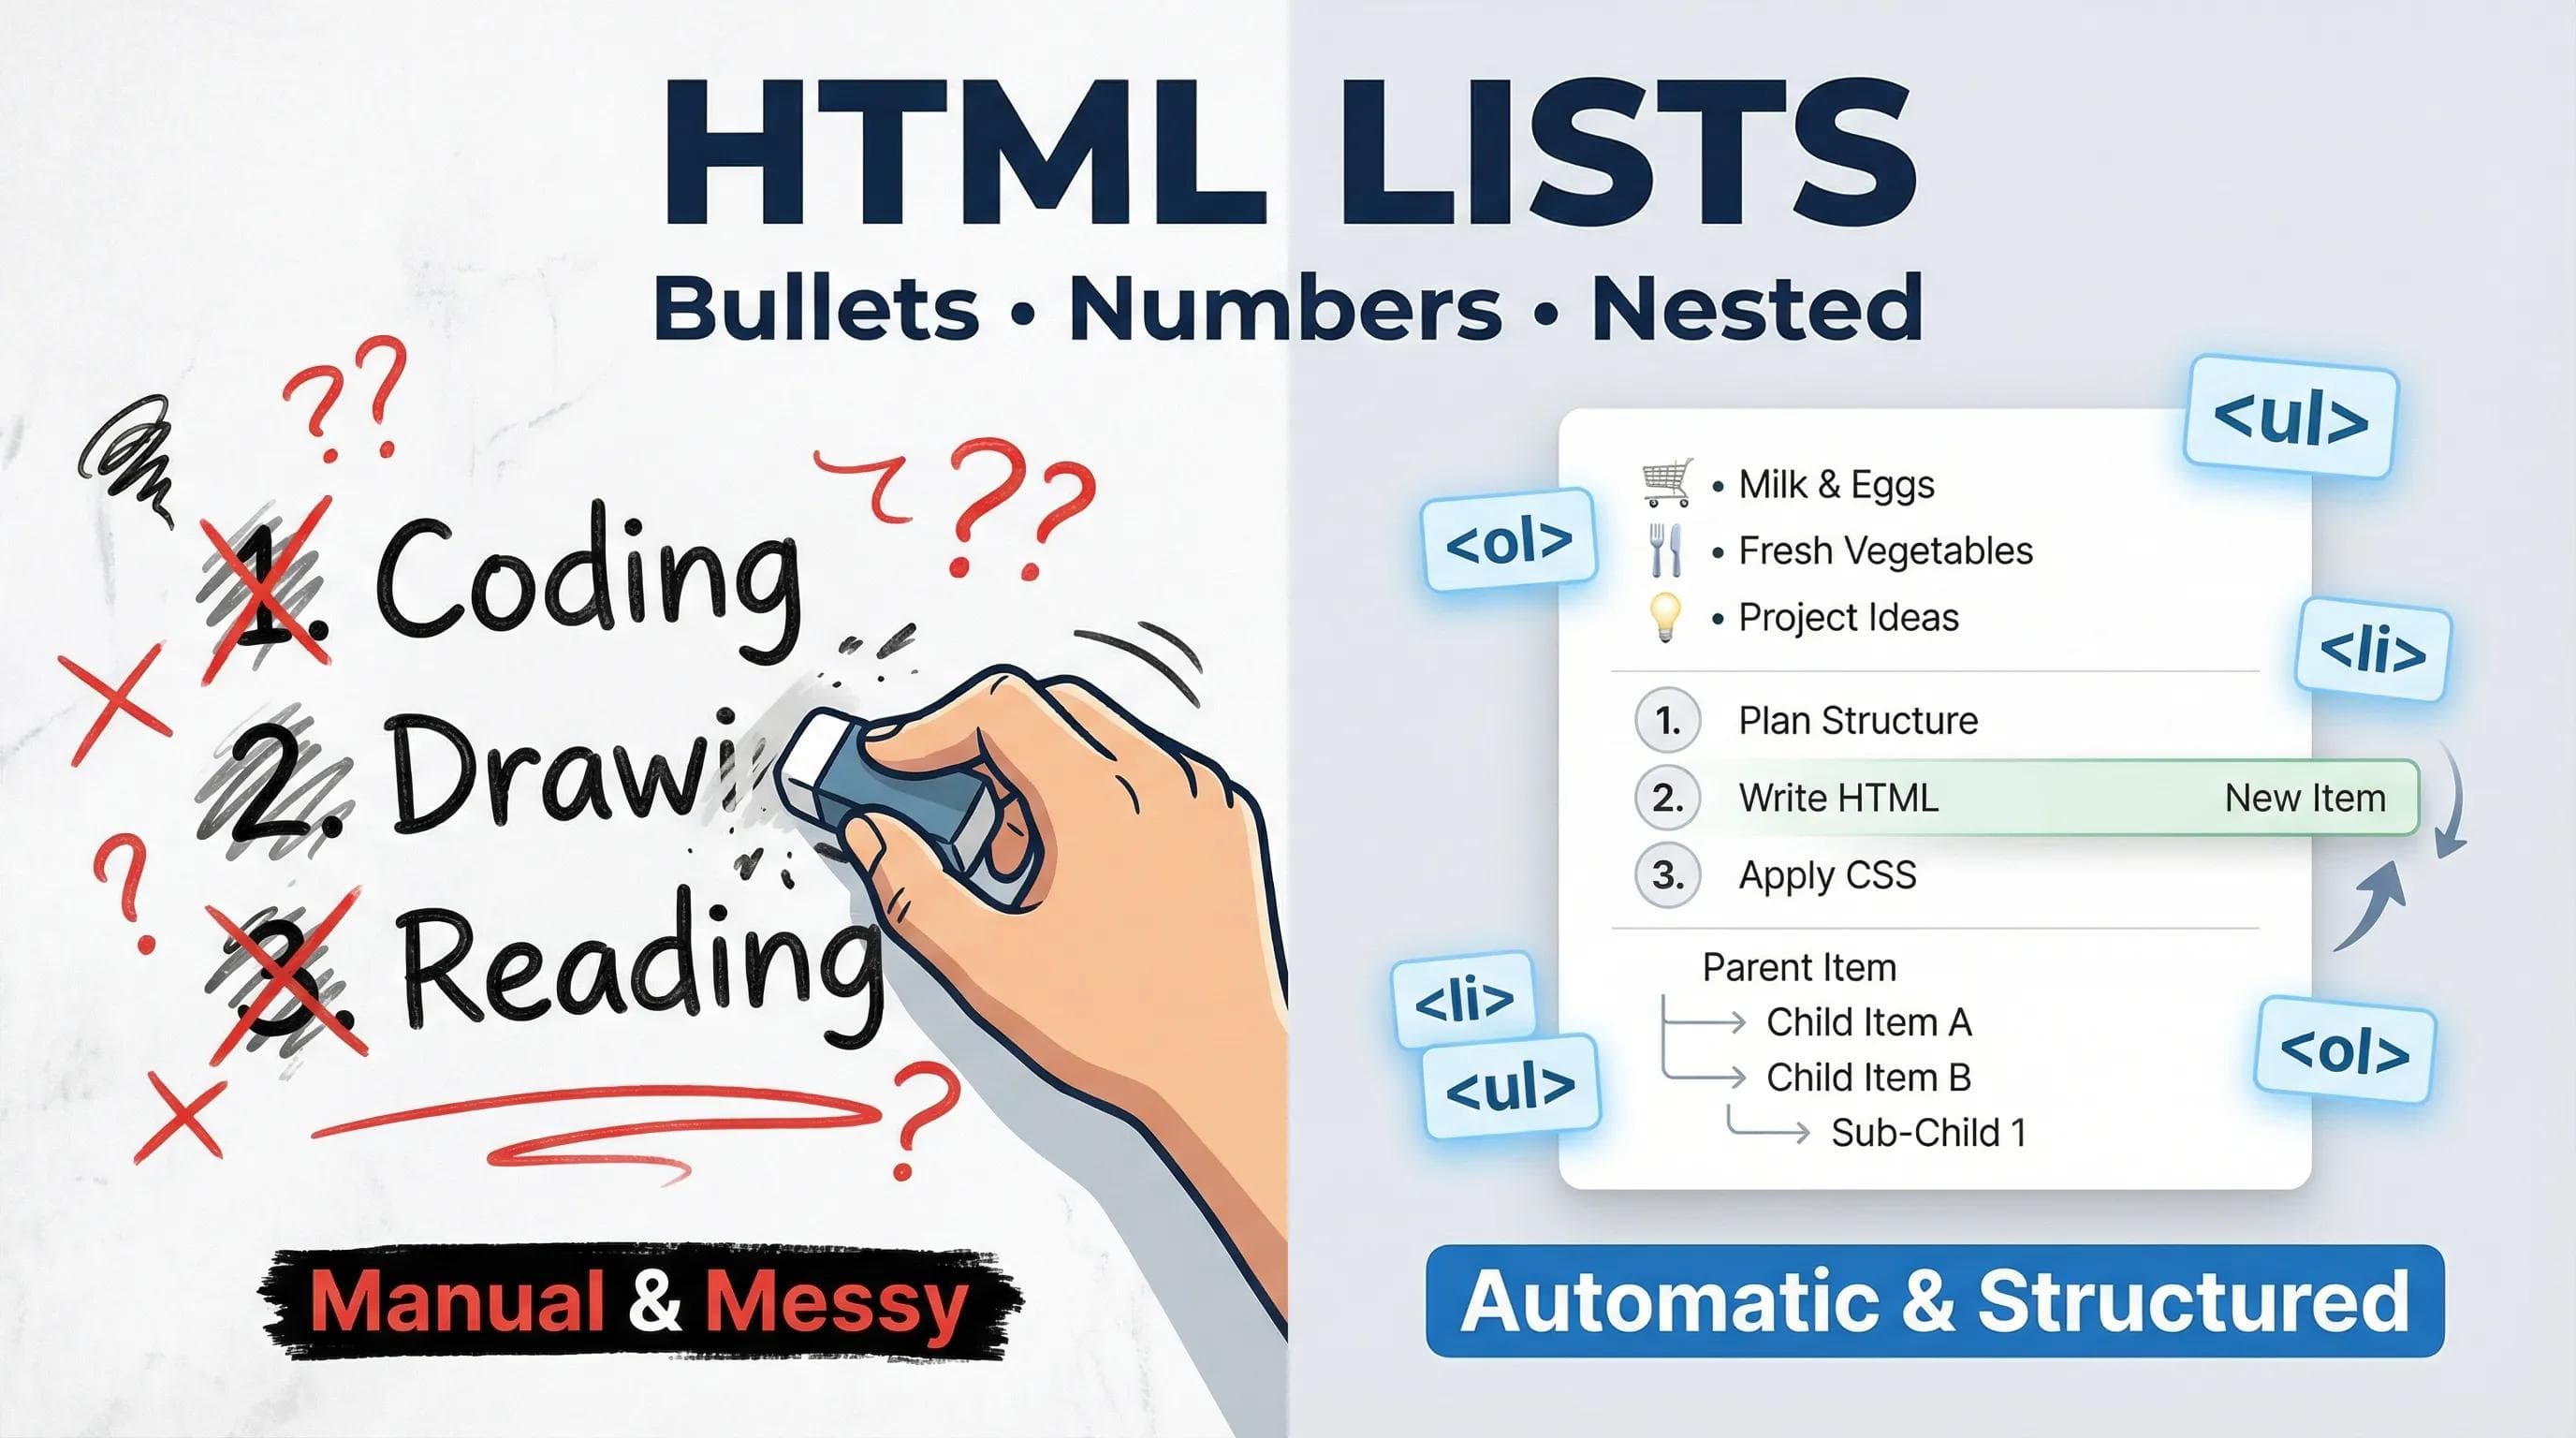
Stop Doing It Manually!
In the practical task of our last blog, we did something that technically "worked" but was actually a bad practice.

We wrote our hobbies like this:
html
<p>1. Coding</p>
<p>2. Drawing</p>
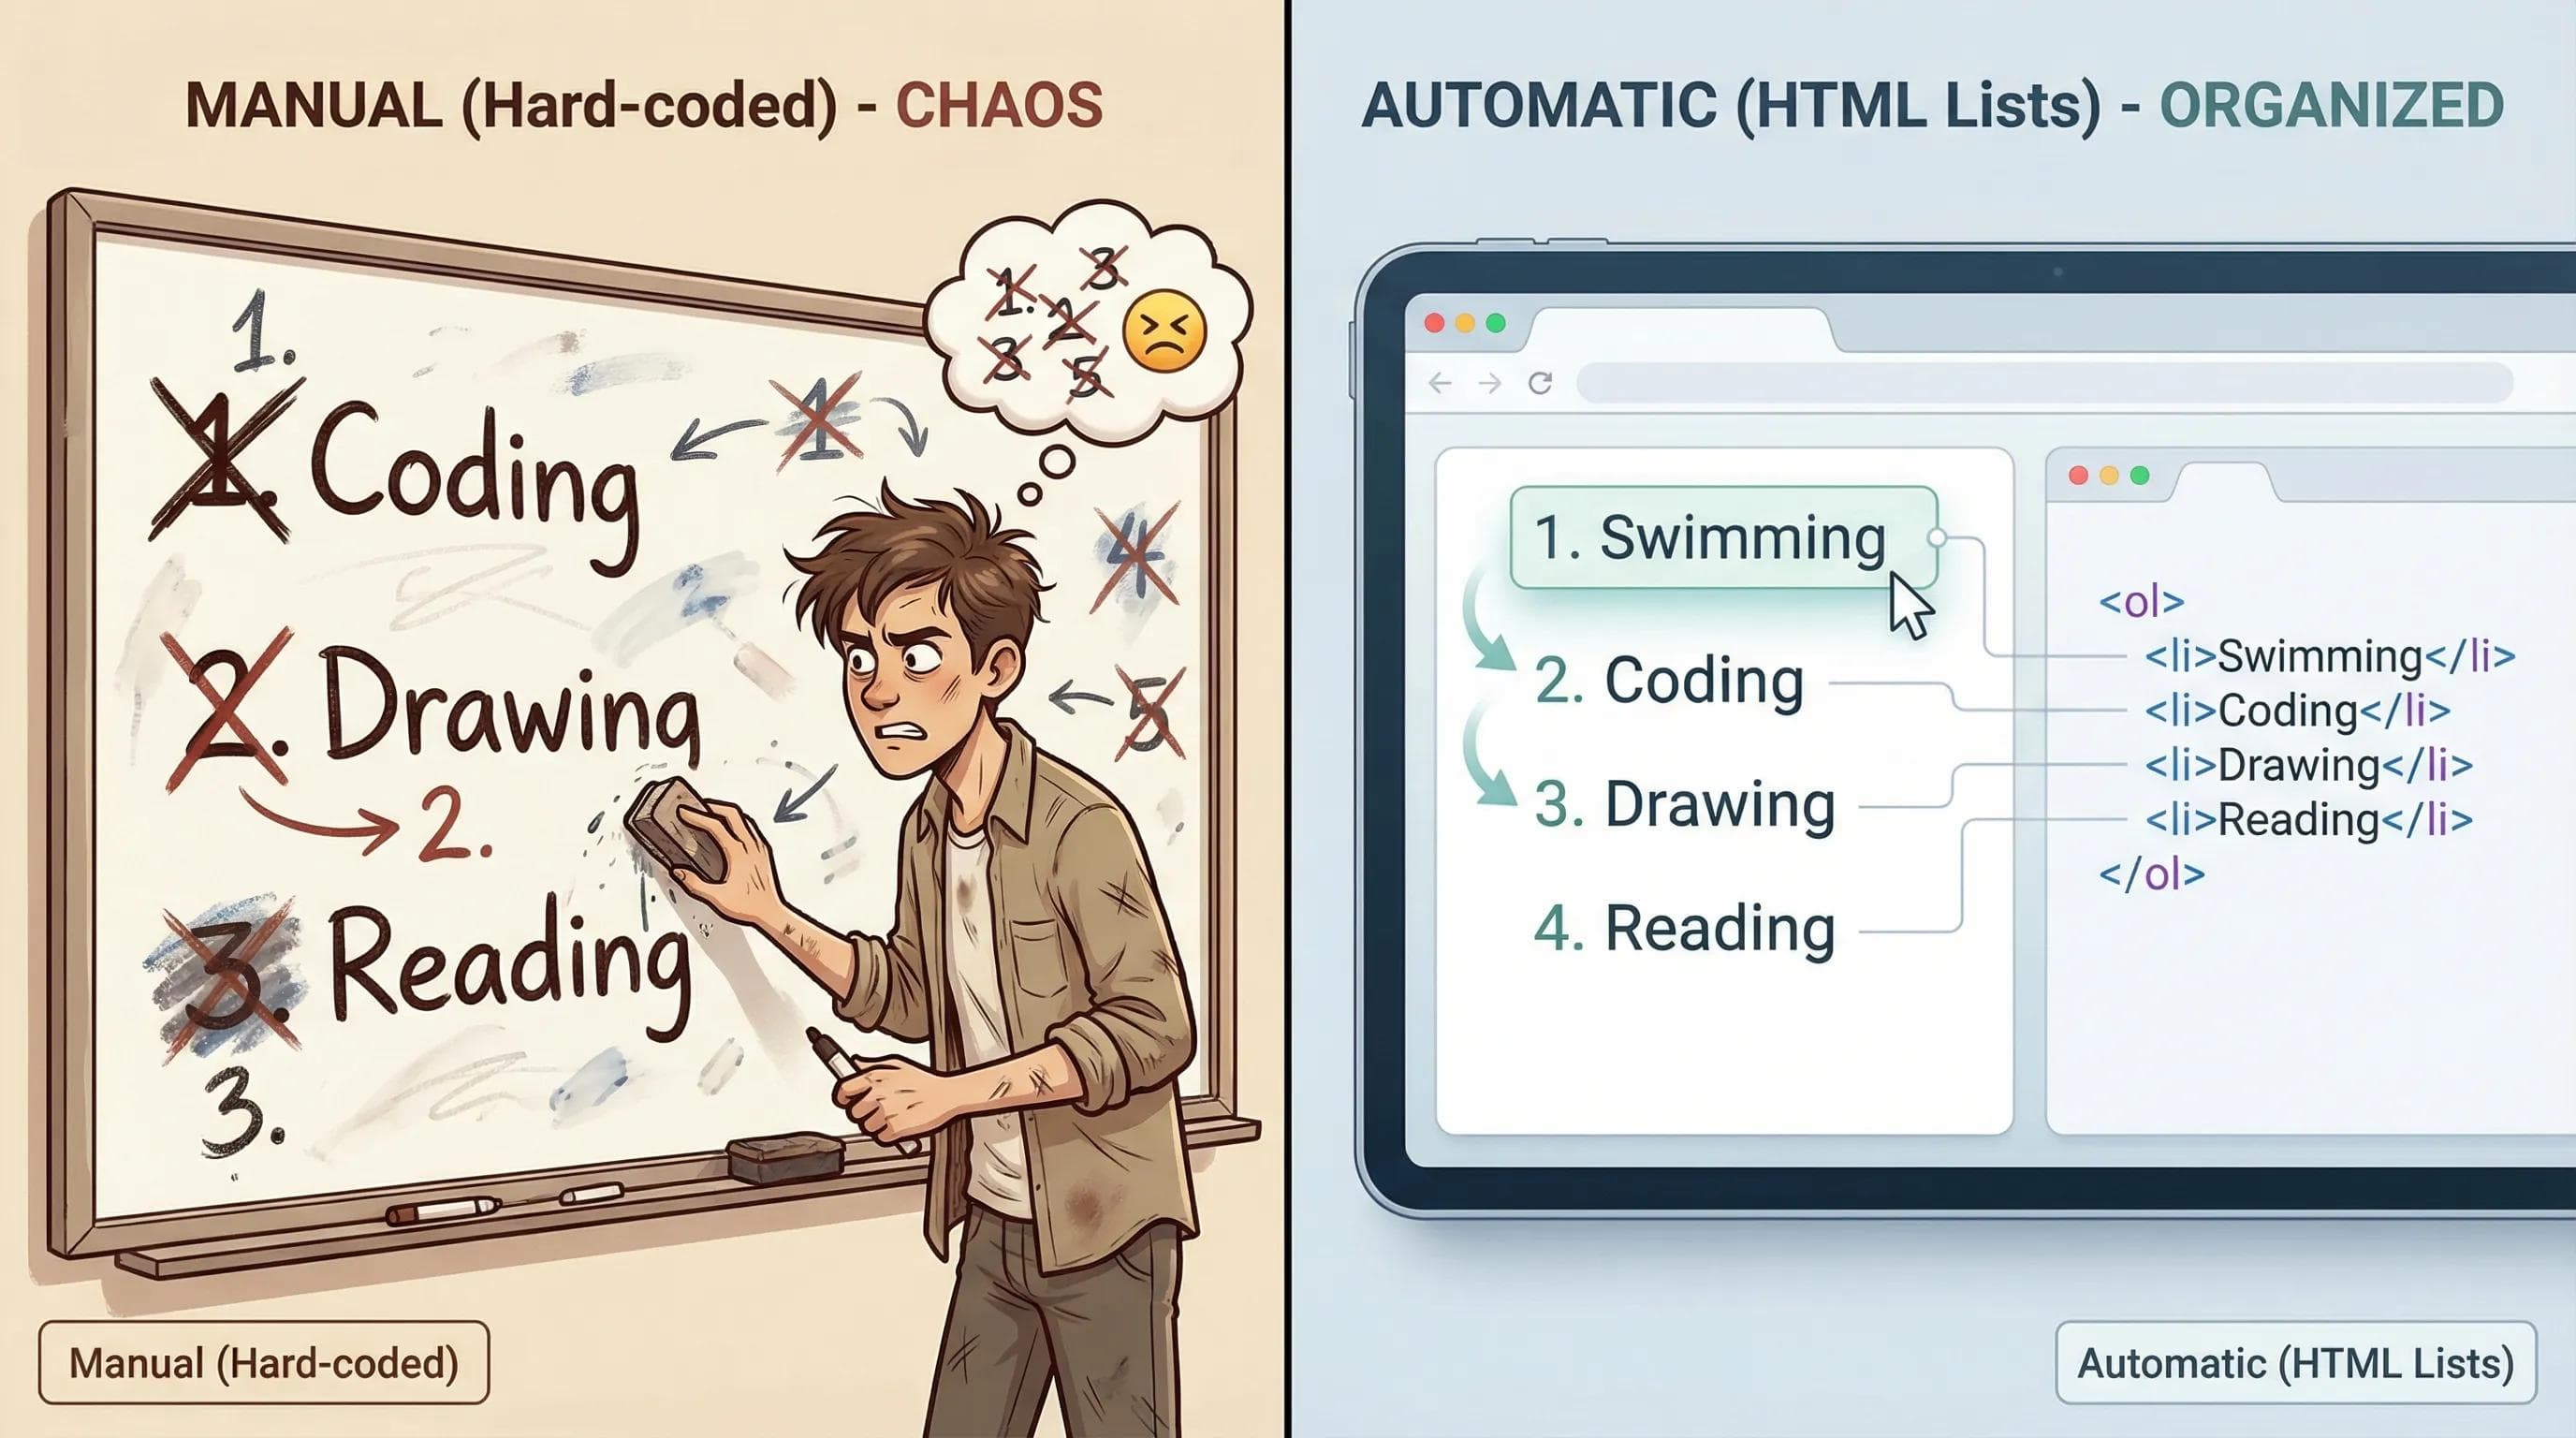
<p>3. Reading</p>The Problem: This is "Hard-coded." Imagine you want to add "Swimming" to the top of the list. You would have to manually rewrite "1" to "2", "2" to "3", and so on. That is a waste of time.
The Solution: HTML has a built-in system called Lists. You just provide the items, and the browser handles the bullet points or numbering for you.
1. The Unordered List (<ul>)
Use this when the order does NOT matter, for eg. think of a Shopping List. It doesn't matter if you buy Milk first or Bread first; you just need the list.
Syntax:
<ul>: The wrapper (Unordered List).<li>: The item (List Item).
html
<ul>
    <li>Milk</li>
    <li>Eggs</li>
    <li>Bread</li>
</ul>Result: The browser will automatically put Bullet Points (●) next to each item.
2. The Ordered List (<ol>)
Use this when the order DOES matter, like any instruction or a recipe because there you cannot boil the pasta before you boil the water.
Syntax: Just change
<ul> to <ol>. The <li> tags remain exactly the same.html
<ol>
    <li>Boil Water</li>
    <li>Add Pasta</li>
    <li>Eat</li>
</ol>
Result: The browser automatically adds 1., 2., 3.
If you add a new step in the middle, the browser automatically updates the numbers for you!
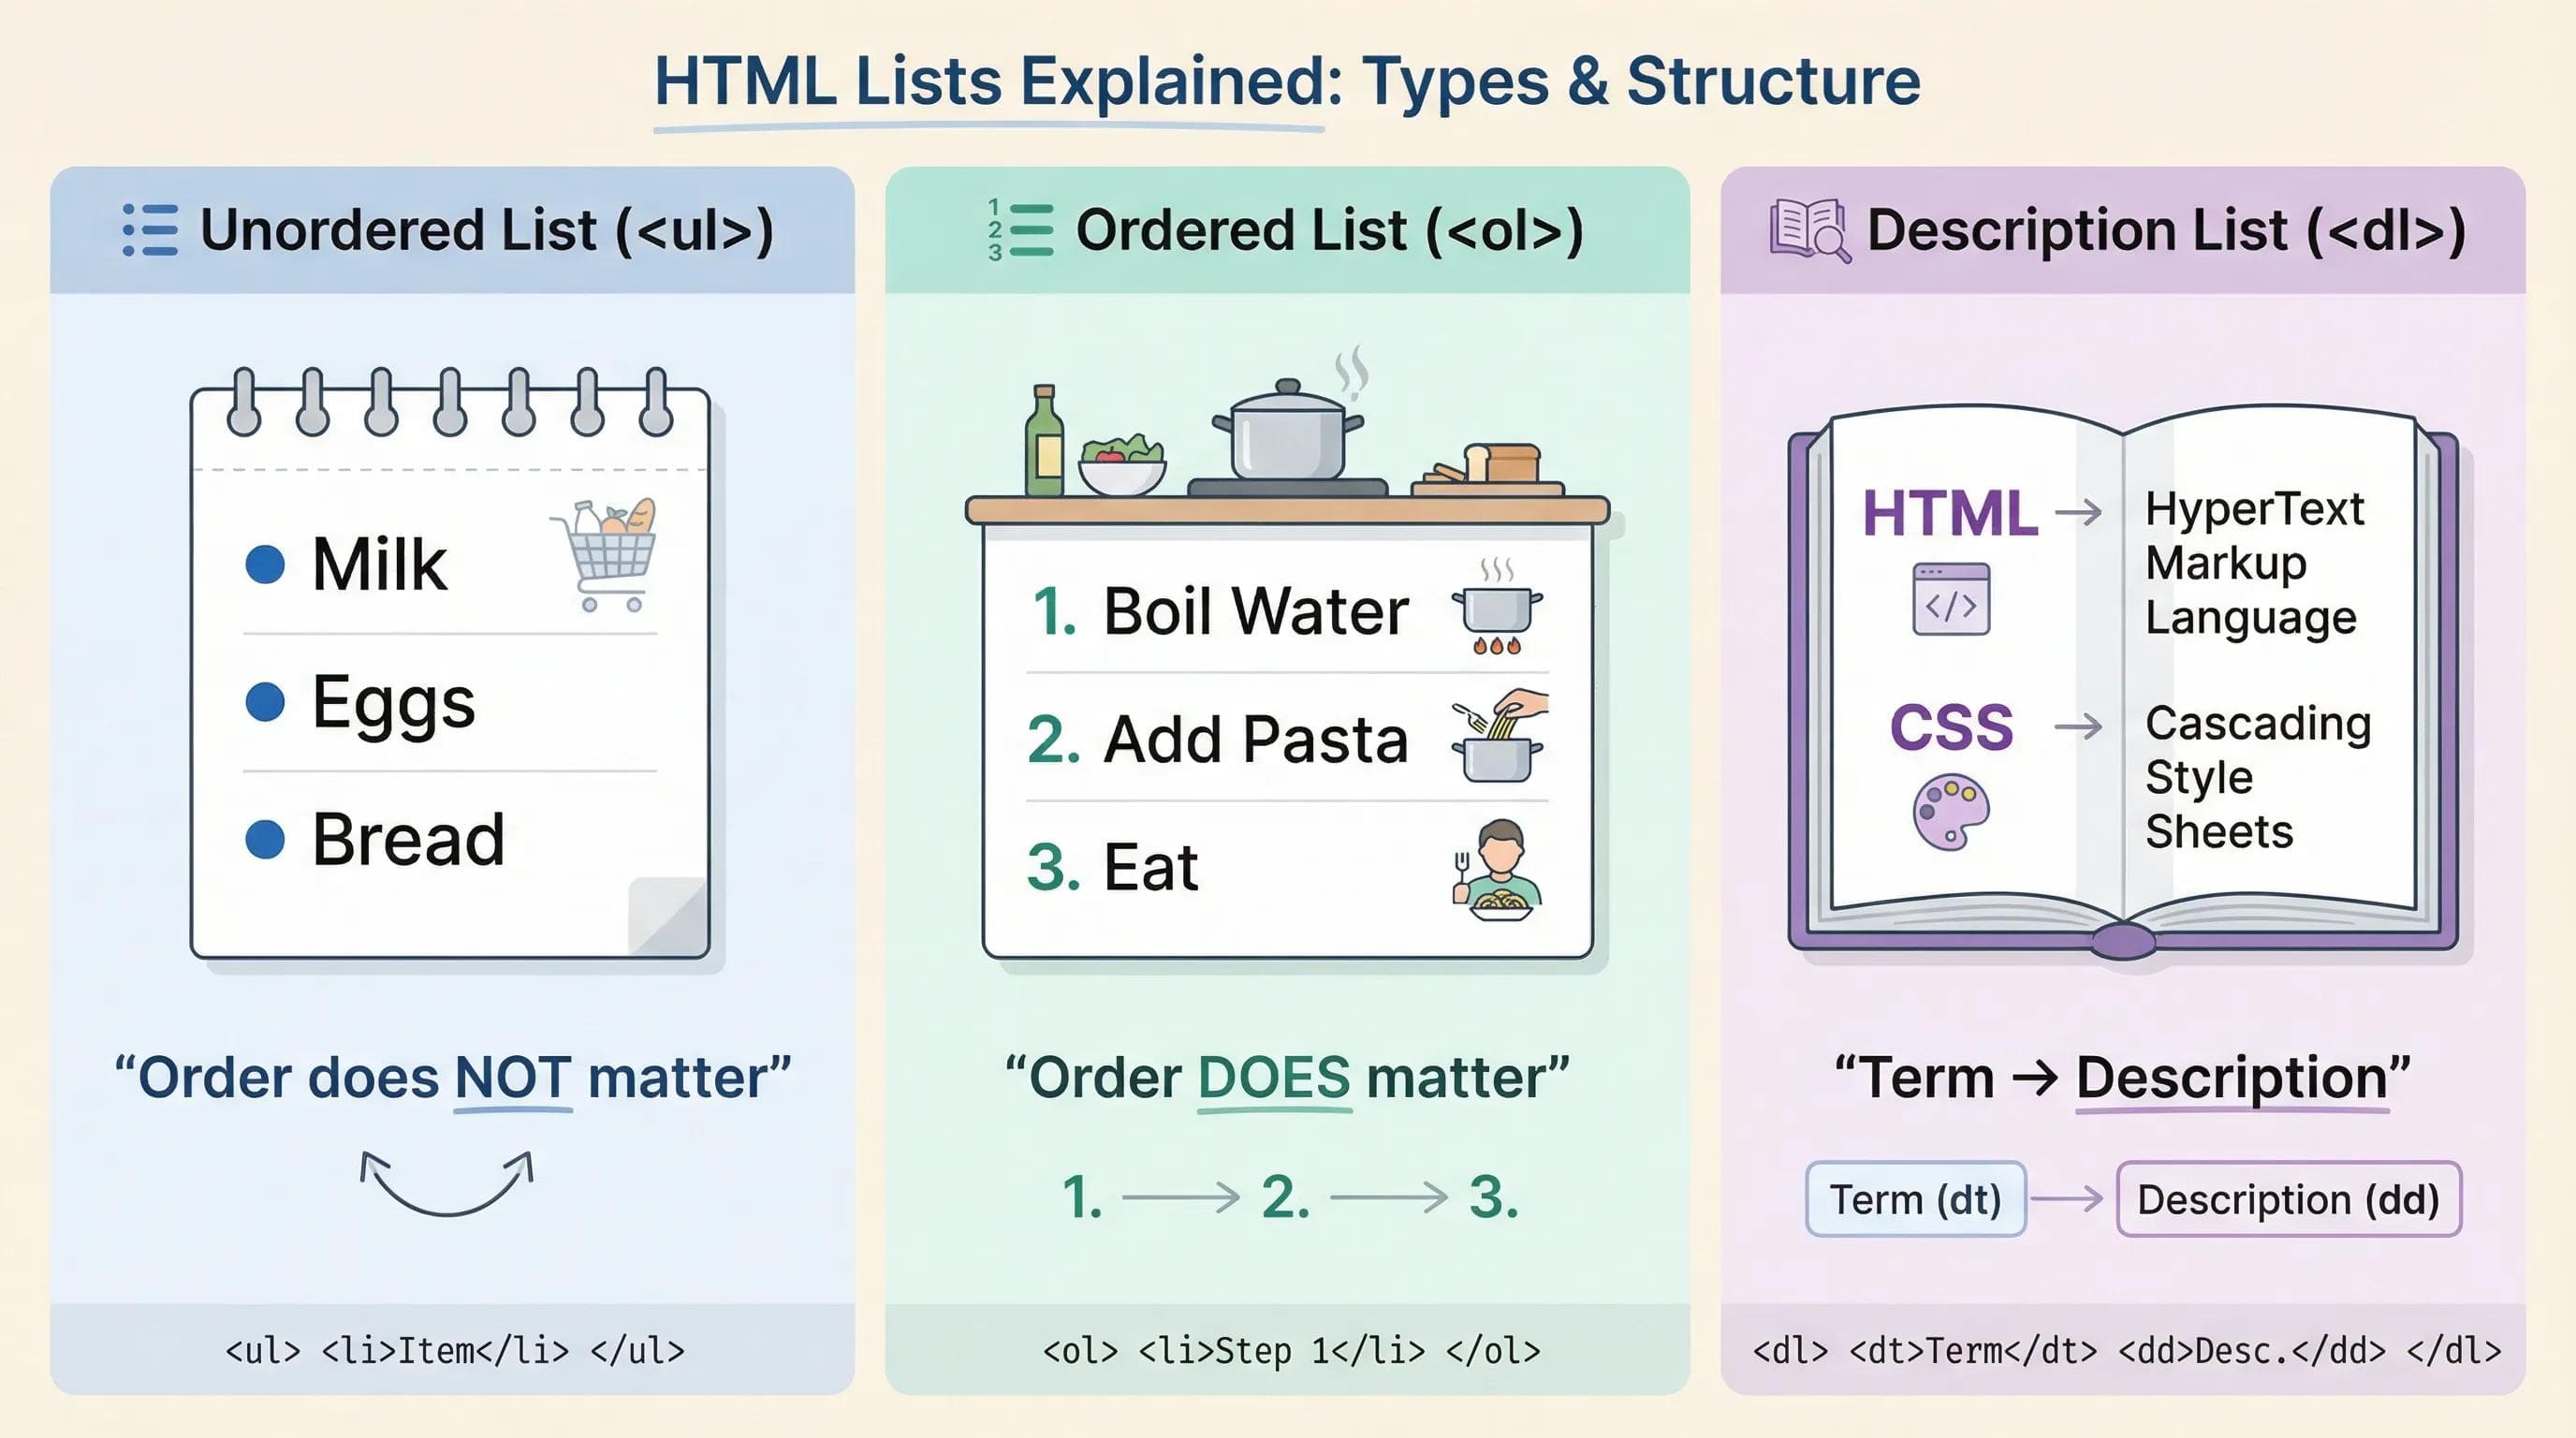
3. The "Pro" Tag: Description List (<dl>)
This is a tag that 90% of beginners skip, but Pro Developers use it. Use this for Key-Value pairs, like a Dictionary or a Q&A section.
Syntax:
<dl>: Description List (Wrapper).<dt>: Description Term (The Question/Word).<dd>: Description Details (The Answer/Meaning).
html
<dl>
<dt>HTML</dt>
<dd>HyperText Markup Language</dd>
<dt>CSS</dt>
<dd>Cascading Style Sheets</dd>
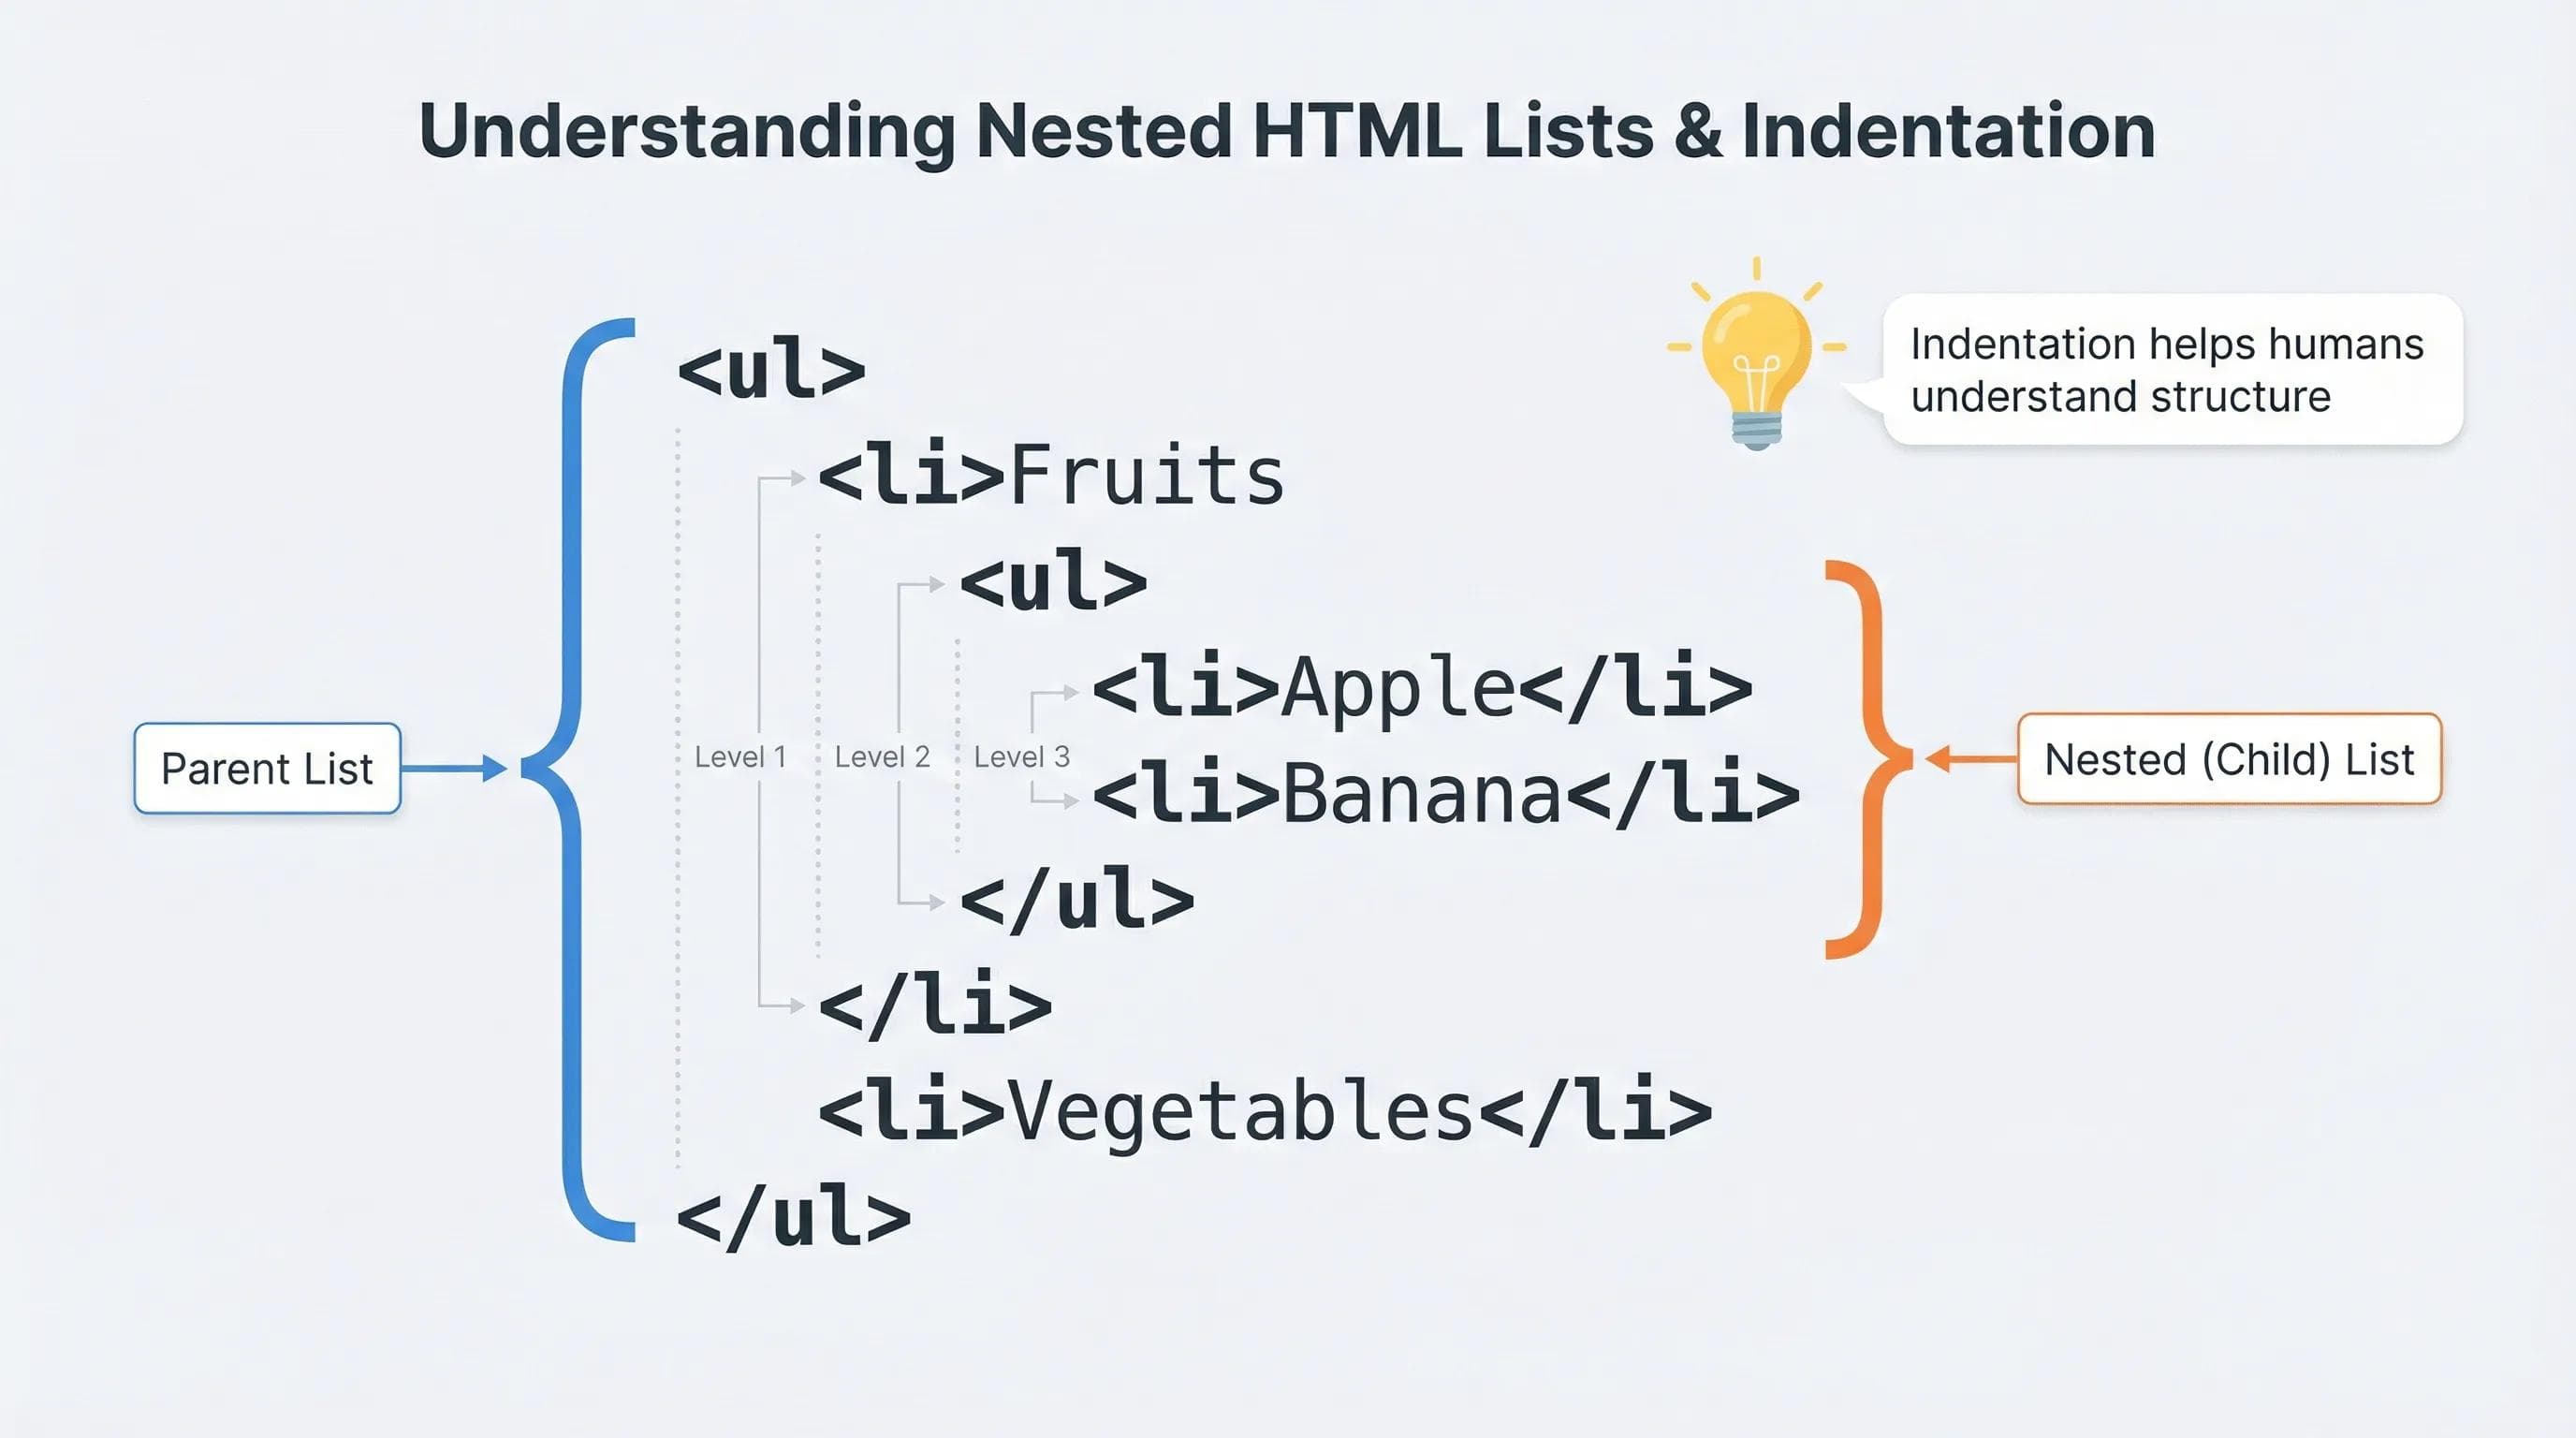
</dl>4. Advanced Mode: Nested Lists (Inception)
If you have a list within a list, this is called "Nesting". Example: You have a list of category "Fruits," and inside that, you have "Apple" and "Banana" or have a list of something else with more items listed in that particular category!
Example code :
html
<ul>
    <li>Fruits
        <ul>
            <li>Apple</li>
            <li>Banana</li>
        </ul>
    </li>
    <li>Vegetables</li>
</ul>
Indentation Matters!
The browser doesn't care about spaces, but YOU do. Always indent your nested lists (press Tab) so you can clearly see which <ul> is inside which <li>.
Real World Secret: The Navigation Bar
You might be thinking, "Lists are boring. I want to build cool websites."
Here is a secret: Every Navigation Menu (Home | About | Contact) you see on the internet is actually an Unordered List (<ul>) in disguise.Developers write a
<ul>, and then use CSS to remove the bullet points and make them sit side-by-side. If you master Lists, you have mastered the skeleton of Navigation.SEO Tip: Structure vs. Text
Google loves structure, so if you write a "Top 10 Tips and Tricks" article using
<p> tags, Google sees it as simple text. But if you use <ol>, it helps Google understands: "Ah! This is a step-by-step guide"This increases your chances of appearing in Featured Snippets (those answer boxes at the top of search results).
Practical Task: Fixing Your Hobbies
Let’s go back to your
index.html and fix the mistake we made in the last blog.Step 1: Delete the manual
<p>1. Coding</p> lines.Step 2: Replace them with a proper Ordered List.
Step 3: Add a new "Favorite Foods" section using an Unordered List.
Update you old Manual List Code for
index.html like this:html
<h3>My Hobbies (Ordered List)</h3>
    <ol>
        <li>Coding</li>
        <li>Drawing</li>
        <li>Reading</li>
    </ol>

    <h3>Favorite Foods (Unordered List)</h3>
    <ul>
        <li>Pizza</li>
        <li>Burger</li>
        <li>Coffee</li>
    </ul>
Step 4: Check Live Server and did you notice how clean the indentation and numbering look?
Time to Experiment!
Don't just copy-paste this! Go ahead and play with the code.
Don't just stop at the basics. HTML lists have some built-in attributes that act like magic. Go back to your code and try these tricks:
- The Roman Empire: Change your
<ol>tag to<ol type="I">. Watch the numbers turn into Roman Numerals (I, II, III). - The Alphabet: Change it to
<ol type="A">. Now your list is A, B, C. - The Time Traveler: Add a start attribute:
<ol start="99">. Your list now starts counting from 99. - The Connector: Try mixing concepts! Put a Link inside a list item:
<li><a href="about.html">About Me</a></li>. (Hint: This is exactly how Navigation Menus are made on real websites!) - Inception: Try to create a list inside a list inside a list (3 levels deep). Can you keep track of the indentation?
Keep exploring and experimenting with your code! Break the rules and see what happens!
Conclusion
Your website is getting cleaner and more structured every day. We now have Headings, Paragraphs, Images, Links, and Lists.
But here is a challenge: Lists are great for simple items. But what if we want to compare complex data? Imagine a Student Marksheet or a Product Price Comparison, like:
- 1: Product Name, Price, Rating.
- 2: iPhone, $999, 5 Stars.
A list cannot handle that. It would look messy thats why we need a Grid to organise such data into Rows and Columns.
In the next blog post, we will tackle HTML Tables and learn how to build complex grids using
<tr>, <td>, and <th>, and we will clarify exactly when (and when NOT) to use them.See you in the next post!
You can Read next part from here - READ NOW!
HTML Series: Your First Step in Modern Web Development (2026)
Step 8 of 22